How-to guide · First-launch setup First-launch onboarding
Tap the Aside icon for the very first time. You’ll see, in order:
Each screen has a single primary button at the bottom — tap it to advance. There’s no “back” needed; if you skip a step, Aside still works, you can fill it in later from Settings.
Step by step
-
Welcome
The first screen is just welcome. The Aside wordmark sits at the top, the warm-paper orb is centered and breathing slowly, and a short paragraph in plain language explains what Aside is in two sentences. There’s a single clay-colored pill button at the bottom: “Get started”. Tap it to move to permissions.

Stand-in for the Welcome screen (live main view). The real Welcome shows the same orb + wordmark + a single ‘Get started’ pill — once-per-install only. -
Permissions, in plain language
Aside asks for exactly two things: microphone (so it can hear you) and notifications (so reminders can fire even when the app is closed). Each is described in one sentence, with a clear reason. Tap “Allow microphone” — the system permission dialog appears in front of Aside; tap While using the app. Then tap “Allow notifications” and again pick allow on the system dialog. If you tap Don’t allow for either, Aside still continues — you can fix it later from the in-app banner.
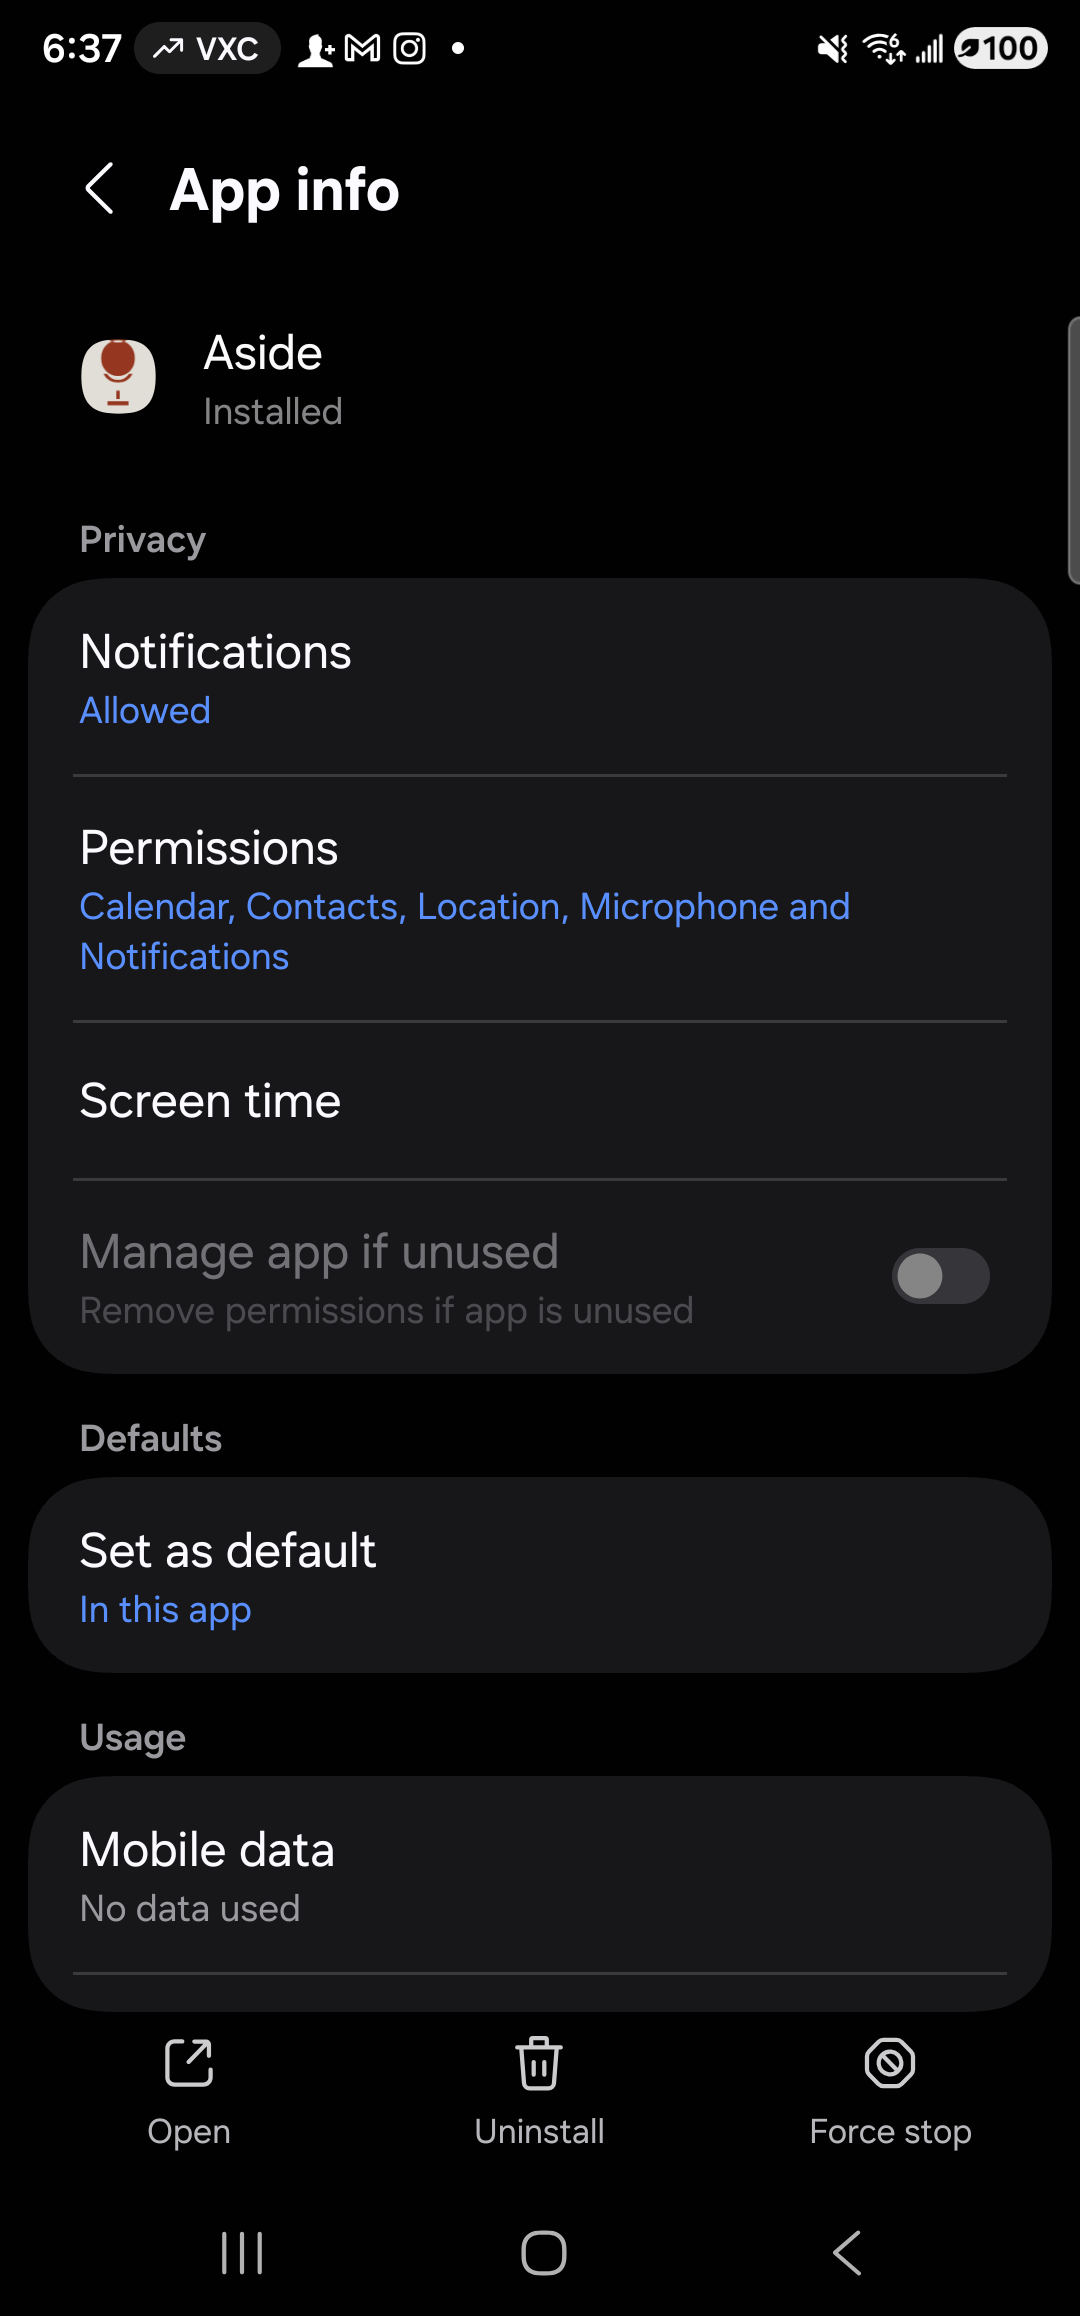
Stand-in (live Android app-info page). The real onboarding screen explains the same two permissions in plain language before any system dialog appears. -
Teach me about you
Aside asks for three optional things to seed its memory: your name, your home address, and one preference (for example: “I prefer transit over driving”). Each is a single text field. Anything you type lands in Aside’s on-device memory store as a vault entry — visible later in the Memory tab, editable, deletable. You can leave any or all of the fields empty and tap “Continue”; Aside still works fine without them.

Stand-in (live Memory tab). The real onboarding flow shows three optional input fields. Skip any or all — teach Aside more later by saying “remember …”. -
Voice setup with live waveform
Aside listens for five seconds while showing a live waveform of your voice and the running transcript at the bottom. Read the prompt aloud — “Hello Aside, today I want to feel calm.” The waveform pulses in time with your voice; the transcript fills in word-by-word. This isn’t a test you can fail — it’s a chance to confirm the mic is working and to hear your voice come back as text the same way Aside will hear it from now on.
Hello Aside, today I want to feel calm.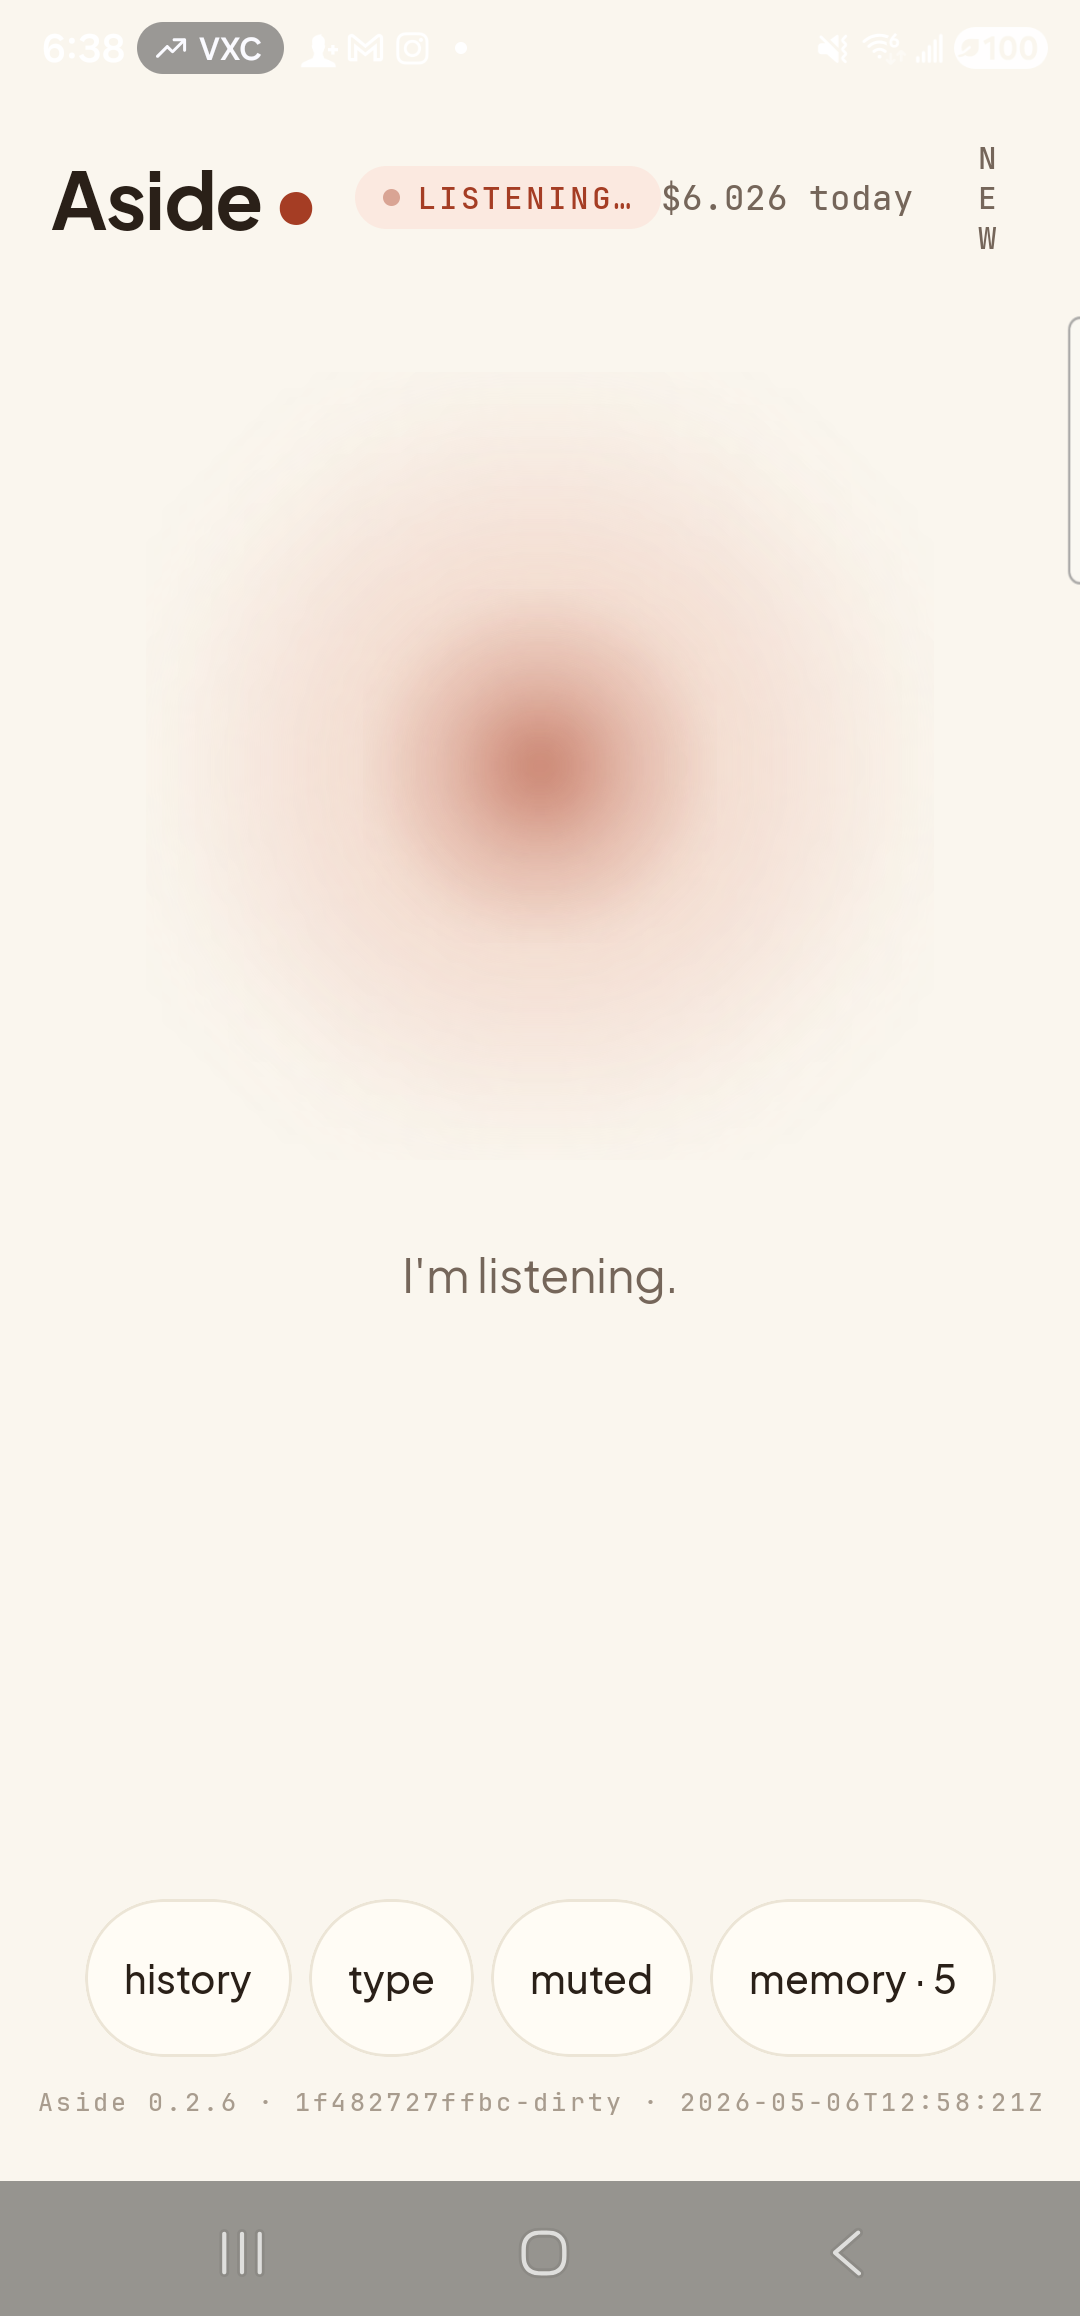
Stand-in (live listening state). The real onboarding screen renders the same mic-on state plus a waveform and a transcript. If you can’t see the waveform move, mic permission isn’t granted — tap back and fix step 2. -
Ready
The final screen is a calm green confirmation. The orb is at idle, the message reads “You’re set up.”, and a single button at the bottom says “Open Aside”. Tap it. The onboarding flow closes for good and you land on the main screen, ready to talk. From this point on, Aside opens straight to the orb — the onboarding never plays again.
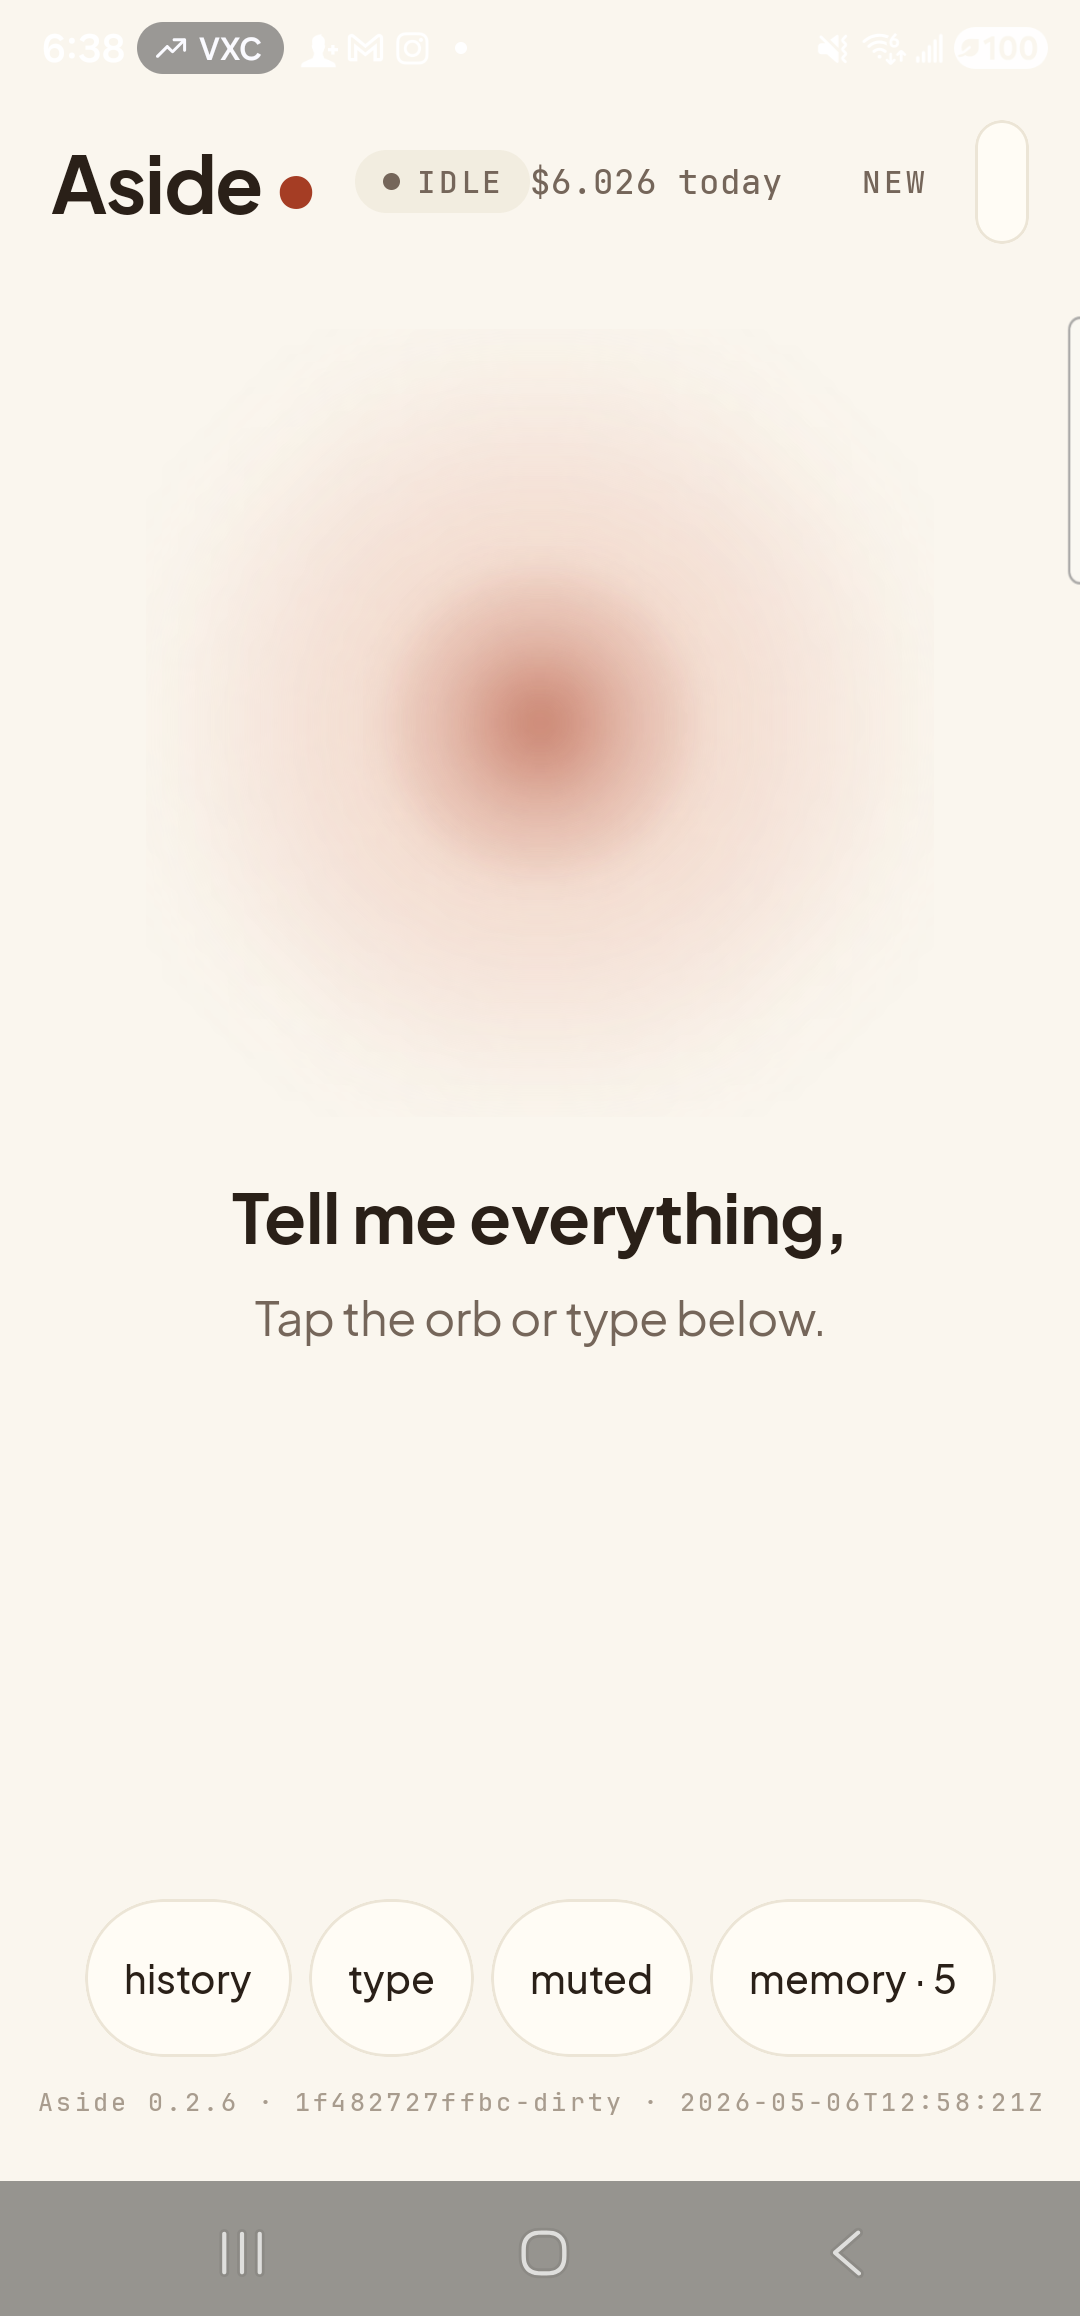
Stand-in (live idle main). The real Ready screen says ‘You’re set up.’ above the orb and offers a single ‘Open Aside’ pill — onboarding never re-runs.