How-to guide · First-launch setup Add the Quick Settings tile

Actionadd-qs-tile
Audience Motor Vision
Time About a minute
Permissions None — uses the system Quick Settings editor
What this is: A one-time drag-and-drop that puts the Aside tile into your phone’s Quick Settings tray. After this, you can swipe down from the top of the screen, tap the Aside tile, and you’re in mic-on mode — from any screen, including the lock screen if your phone allows. It’s the fastest one-tap path to talking to Aside, especially if the assist gesture isn’t convenient.
Try it now

Two swipes from the top of the screen open the full Quick Settings tray. Then tap the pencil (or three-dot menu → Edit buttons), find Aside in the bottom drawer, and drag it up into the tray.

Swipe down twice → pencil → drag Aside up → Done.

Step by step

  1. Open the full Quick Settings tray

    From any screen, swipe down from the top of the display once to open notifications, then a second time to expand the full tray. (On Galaxy devices in One UI 6, a single two-finger swipe down works too.) You’ll see a grid of round tiles — Wi-Fi, Bluetooth, Flashlight, Do Not Disturb, etc.

    The Samsung One UI Quick Settings tray fully expanded on a Galaxy S23 Ultra, dimming the underlying app. The status row at the top shows ‘Unregistered SIM’ on the left and the usual signal/Wi-Fi/battery icons on the right. Top-right of the tray are three controls: a pencil (Edit buttons), a power button, and a settings cog. Below that, rounded panels group: a Wi-Fi (Donofrio Guest) and Bluetooth pair, a 2x4 grid of round tiles (Auto rotate, Flight mode, Flashlight, Mobile data, Mobile Hotspot, Power saving, Location, Link to Windows), brightness and media-volume sliders, and three media/device cards (‘Play last song / Media output’, ‘Nearby devices / SmartThings’, ‘Smart View / Modes’).
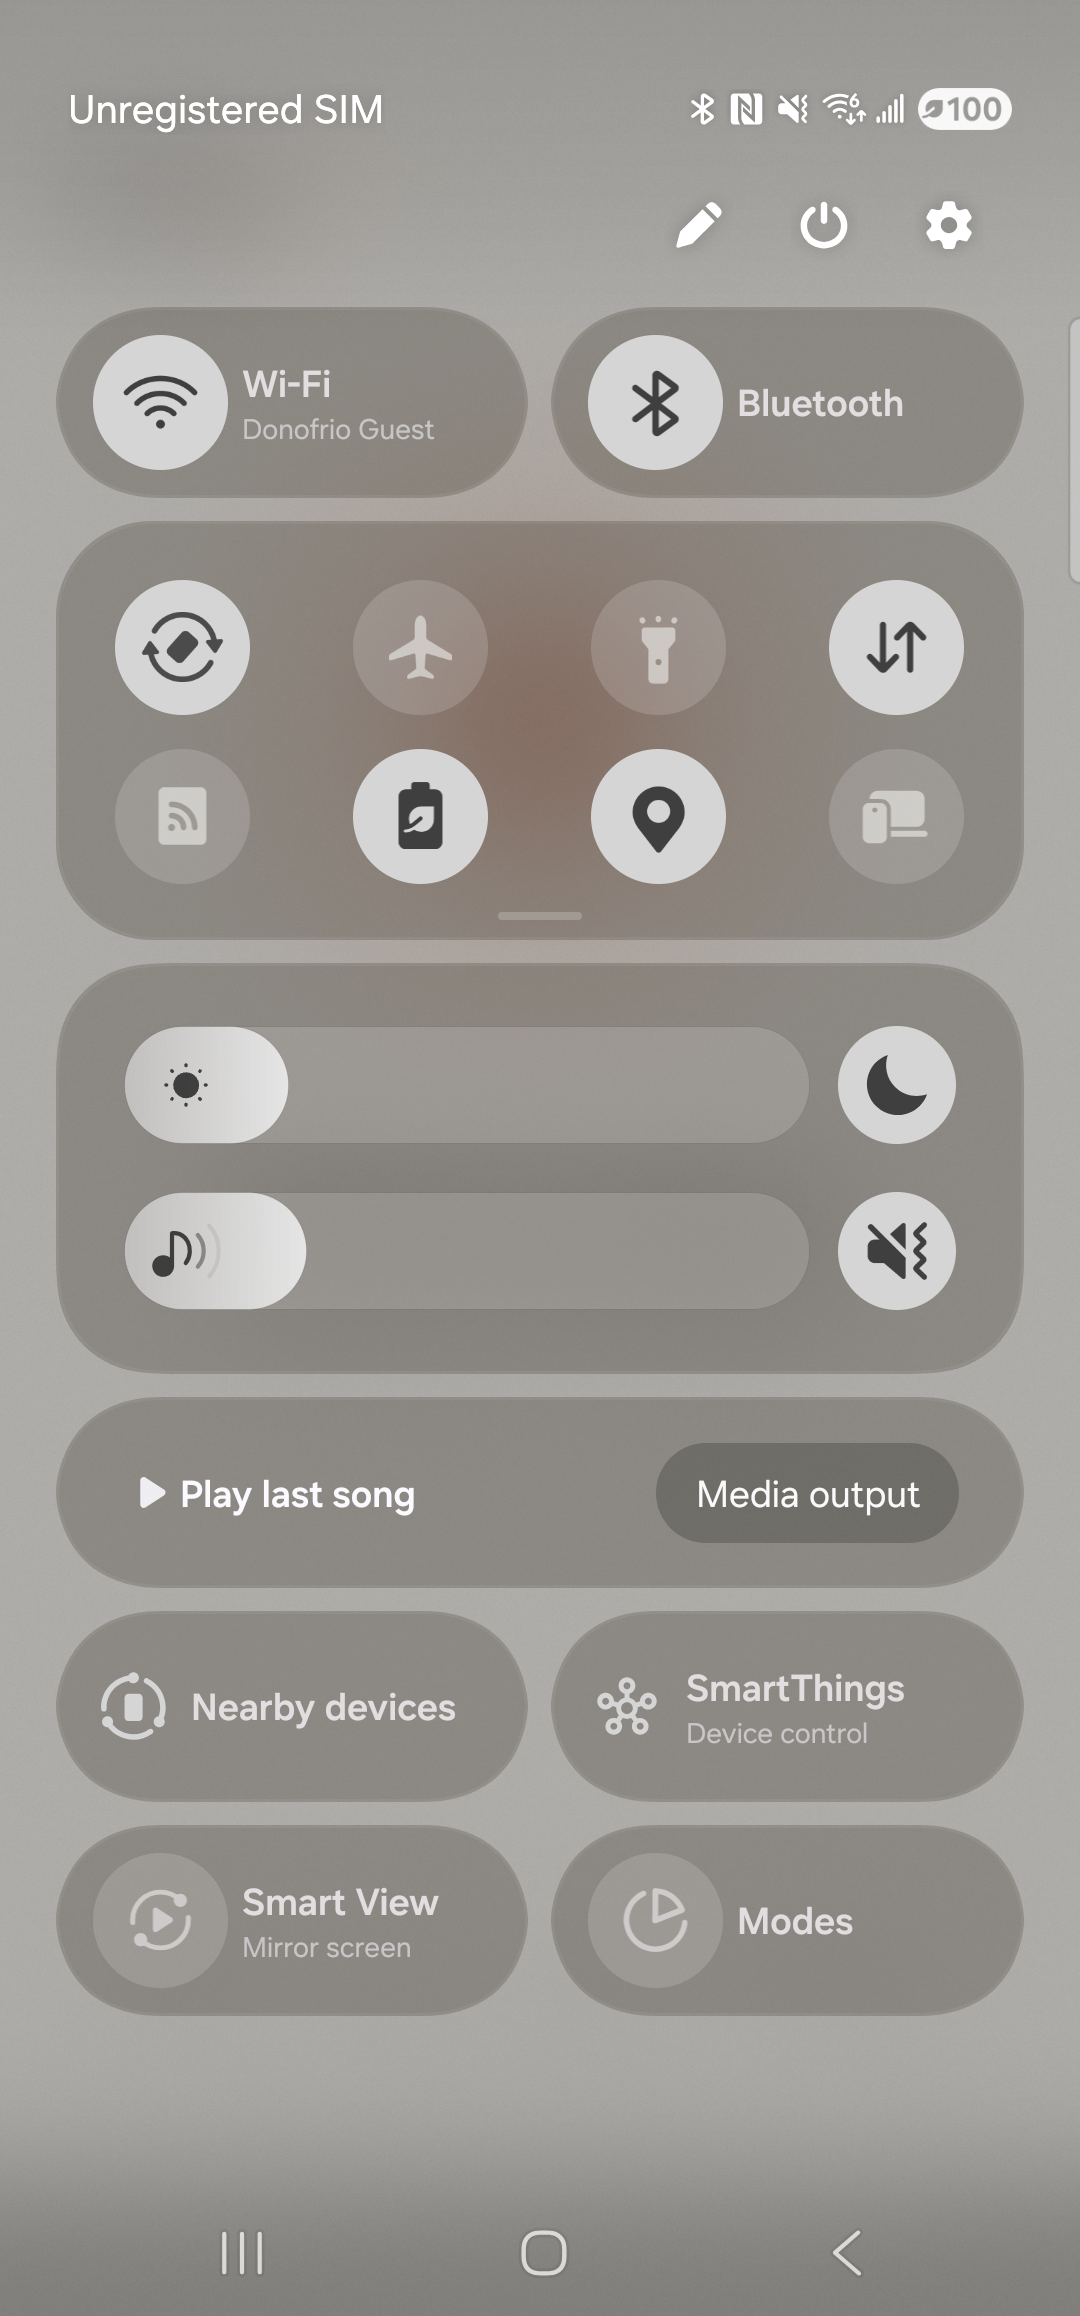
    The full QS tray. Note the pencil icon top-right — that’s the editor.
  2. Enter edit mode

    Tap the pencil icon at the top-right of the tray. (On stock Pixel and some other devices it’s the three-dot overflow menu → Edit buttons.) The screen splits in two: the upper half shows your current tray, the lower half is a drawer of available tiles not yet in the tray. Aside lives in that lower drawer.

    The Samsung One UI Quick Settings tray in edit mode. Header now shows ‘Panel settings’ at the top-left and a ‘Done’ pill button at the top-right, with the caption ‘Touch and hold to change order.’ above the active tray. The first row of tiles is Wi-Fi and Bluetooth; the second row sits inside a dark rounded panel with a small floating ‘Edit’ chip in the center and contains Auto rotate, Flight mode, Flashlight, Mobile data, Mobile Hotspot, Power saving, Location, Link to Windows. Below the active tray, the screen continues with brightness, media controls, and additional tile rows (Play music / Media output, Nearby devices / SmartThings, Smart View / Modes). The Aside tile is supposed to appear in the available-tiles area; if it isn’t visible yet, restart the phone — Samsung’s SystemUI caches the tile list aggressively on first install.
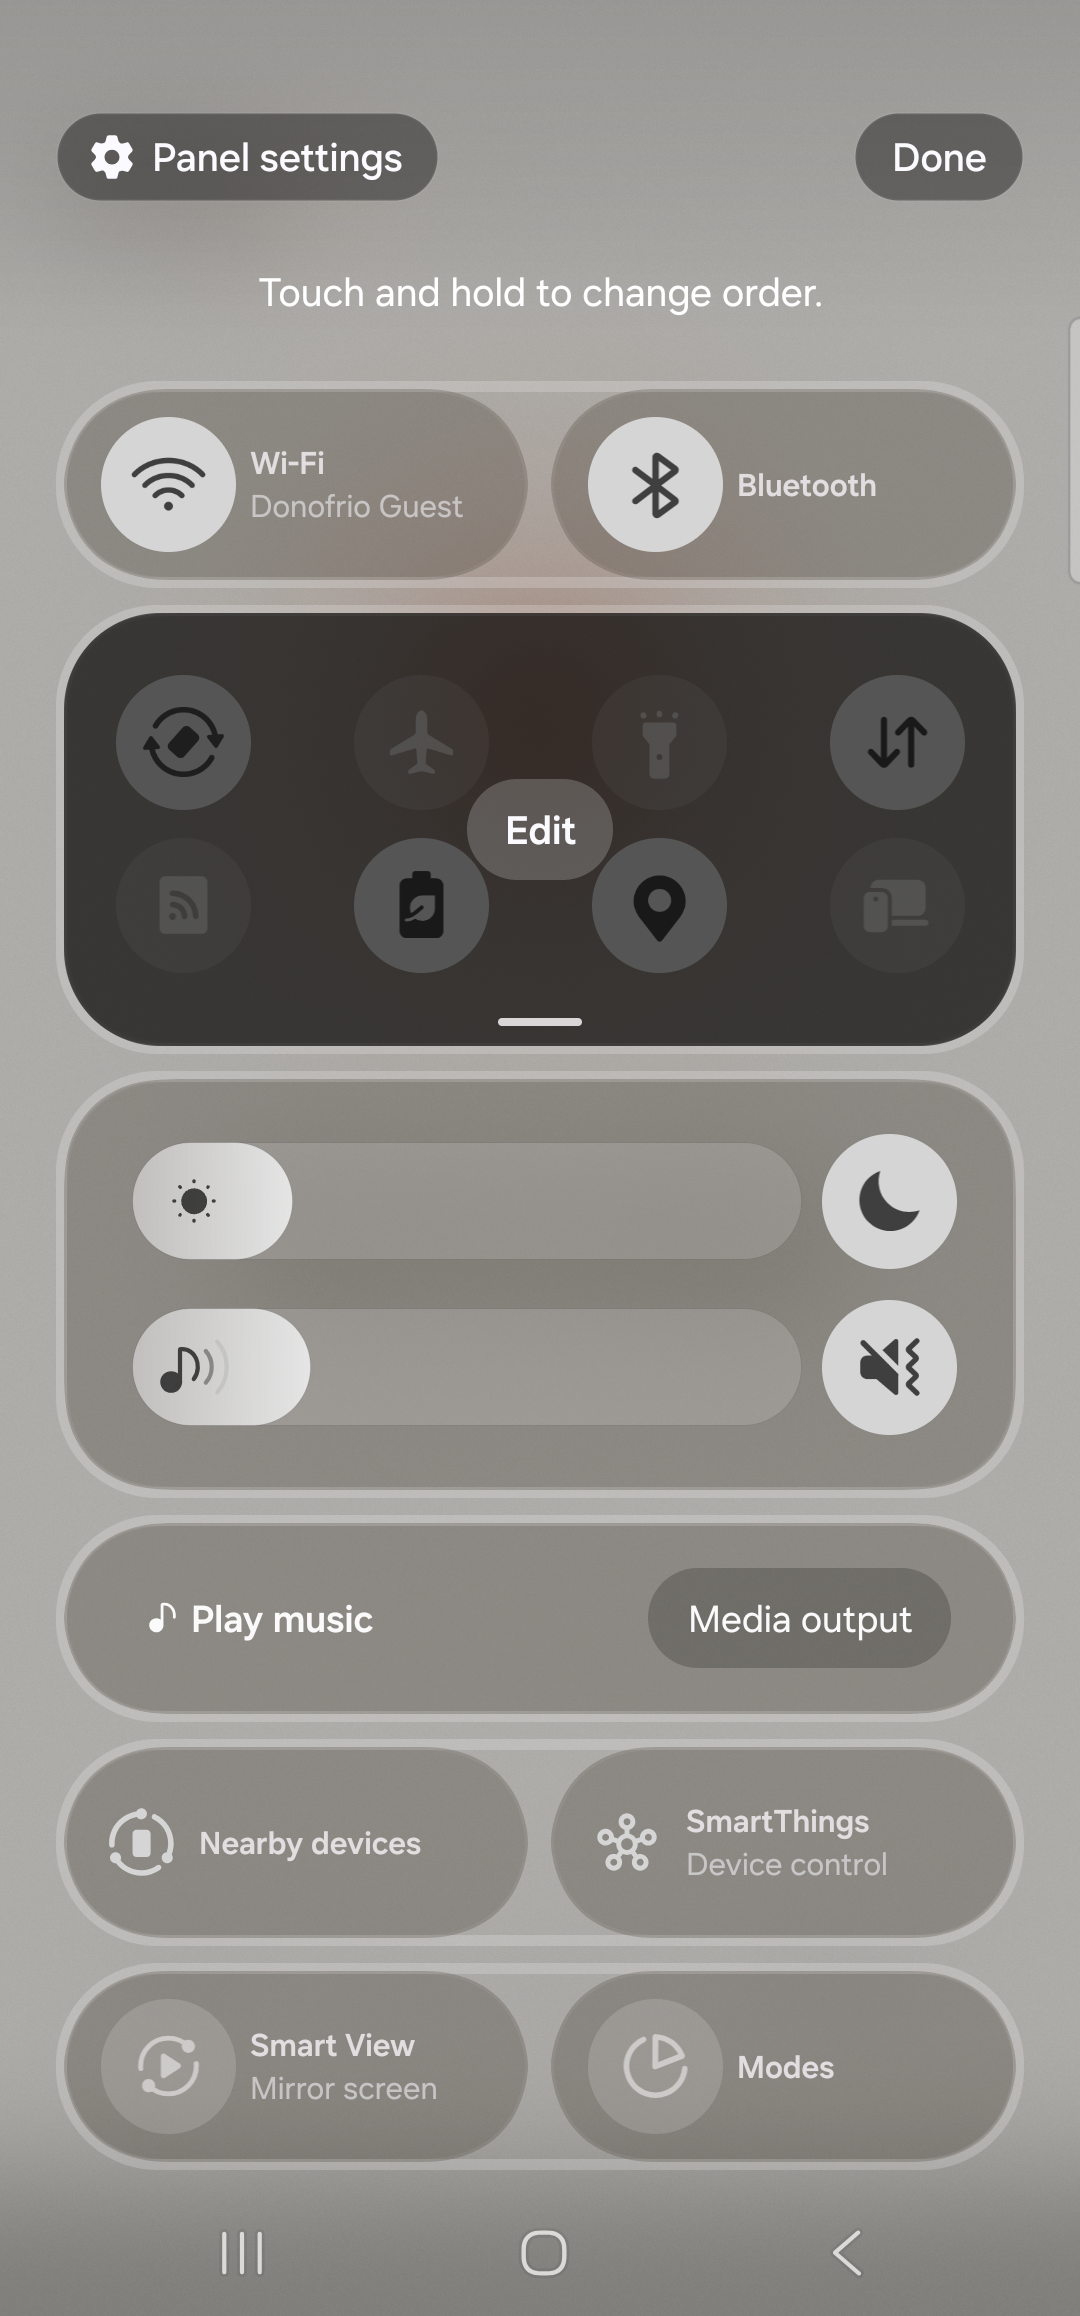
    Edit mode. The Aside tile lives in the available-tiles section — if it isn’t visible, restart the phone to refresh Samsung’s tile cache.
  3. Drag the Aside tile into the tray

    Long-press the Aside tile in the lower drawer, then drag it upward into your tray. Drop it wherever you want it — the top-left position makes Aside the very first tile you see when you swipe down. As you drag, neighboring tiles shuffle to make room. Lift your finger to drop.

    No screenshot of this step: Drag-and-drop on the Quick Settings tray is a hand gesture; we couldn’t reliably script the drag from our test rig, so the captured-screenshot pipeline skips this frame. The description above is the canonical reference for what to do.
  4. Tap Done and verify

    Tap Done top-right. The editor closes, the tray collapses, and the Aside tile is now in your Quick Settings, displayed with the warm-paper Aside icon and the label Aside. Swipe down twice from anywhere in the OS to confirm the tile is where you put it.

  5. Tap the tile to launch Aside listening

    Swipe down from the top of any screen. Tap the Aside tile once. Aside opens straight into listening — orb in its listening state, status pill LISTENING…, caption “I’m listening.” — without you having to find the Aside icon, unlock the phone, or remember any gesture.

    The Aside main screen in its listening state — visually identical to what a real QS-tile tap produces, captured here without the tile actually being placed. Top: ‘Aside’ wordmark + small red dot, status pill ‘● LISTENING…’ in clay caps, cost counter ‘$6.026 today’, ‘NEW’ button top-right. Centered: the warm-paper orb, slightly enlarged with a soft animated outline. Below the orb, a single sentence reads ‘I’m listening.’ Bottom row of pills: history, type, muted, memory · 5. The build-stamp footer ‘Aside 0.2.6 · 1f482727ffbc-dirty · 2026-05-06T12:58:21Z’ is faintly visible. The real tile-tap path lands here directly because the QS tile launches MainActivity with the listening intent extra set.
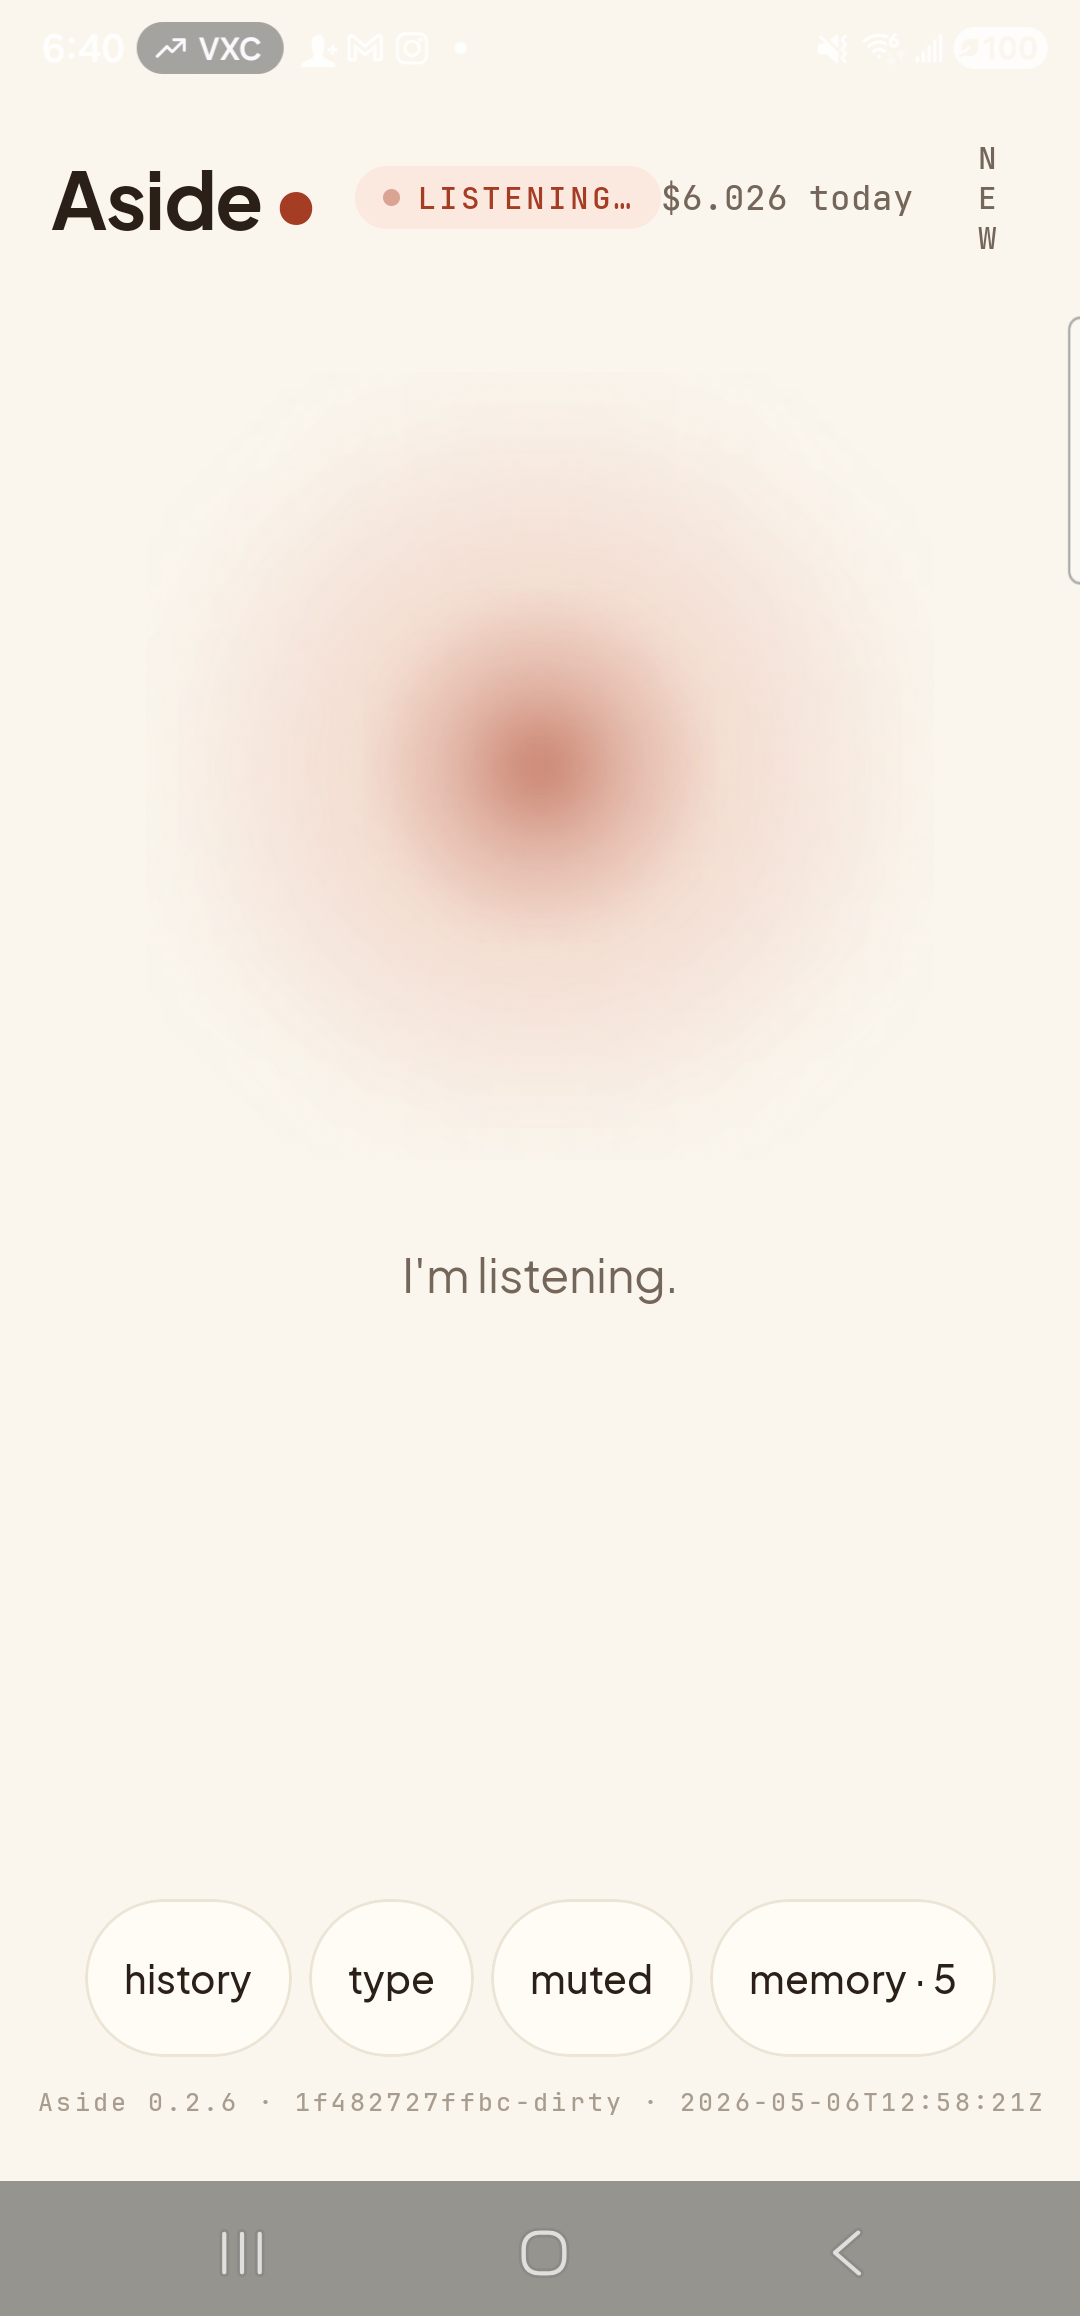
    One swipe, one tap, listening — from anywhere. (Listening state shown via orb-tap stand-in; the real QS-tile tap produces the visually-identical frame.)
Don’t see Aside in the Available buttons drawer? Force-stop and reopen Aside — the tile registers with Android’s TileService on first launch. If it still isn’t there, your launcher may cache the QS list aggressively; restarting the phone usually unsticks it.
Note: On Pixels and stock Android the editor is reached differently — tap the three-dot menu top-right of the QS tray and pick Edit buttons, then drag-and-drop works the same way. The ordering may also be reversed on some OEMs (active tray below, drawer above). The drag direction always points into the active tray.